Six years ago, just before Christmas I was asked to do an Extended Family Session of 27 people! This is like asking someone to do a wedding! Even though I don’t do weddings (well…I do, do a select few) the same principles apply for doing an extended family session. So, I’m glad that I have had a few weddings under my belt to understand how to prep for such a huge crowd!
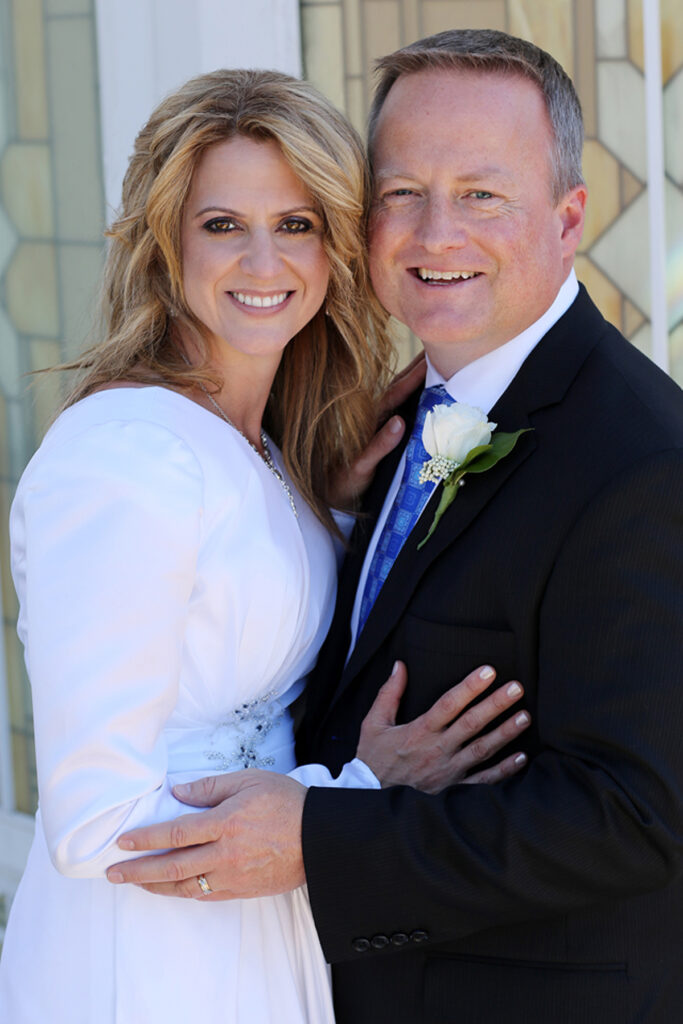
Considering, we live in a cold climate, and the sun goes down by 4:30 pm, It was best to consider doing this session indoors. I did it indoors in a gym, to have control over my lighting, and keeping everyone safe from the cold, the wind, and a place to run around in, when it wasn’t their to turn to be photographed.
One of the first things, I needed to do was to figure out the best way to have an extended backdrop. I called “The Camera Store” in Calgary, they practically laughed through the phone, to tell me I was out of my mind, and that I better get over to the hardware store to construct my own backdrop stand out of pvc piping. I only had a 10 day window of when they wanted to do this session, so I was really trying to figure out quickly what I could do to bring this together. Checked online for other stores that might have something that could extend the backdrop stand, and delivery could be a hold up.
Then I called “Strobepro” a local store, in Calgary, where they sell non brand names. They were extremely helpful, and we worked it through, of how to combine 2 stands, into one, with additional support, of a 24″ feet crossbar and the best lighting scenario.
I then went to the Camera Store, to pick up a roll of beige “mocha” savage seamless paper, as the clients had brown tones in their home. The plan was to use the whole roll, length wise as my backdrop, and the rest of the floor. To be safe, I decide to set up 2 nights prior for a trial run. Yes, it was a lot of work, to do this, but it was so worth it, as I discovered, I didn’t have enough clamps, to hold the paper, for the backdrop, and I would need to buy more. It also helped me, realize that I needed to bring extension cords, and what other things I was missing.
My son, who I tempt to act as my assistant (as who else may inherit all my equipment some day) painstakely came along for the ride! For the sake of experimenting only, I used a roll of white paper, I had on hand.
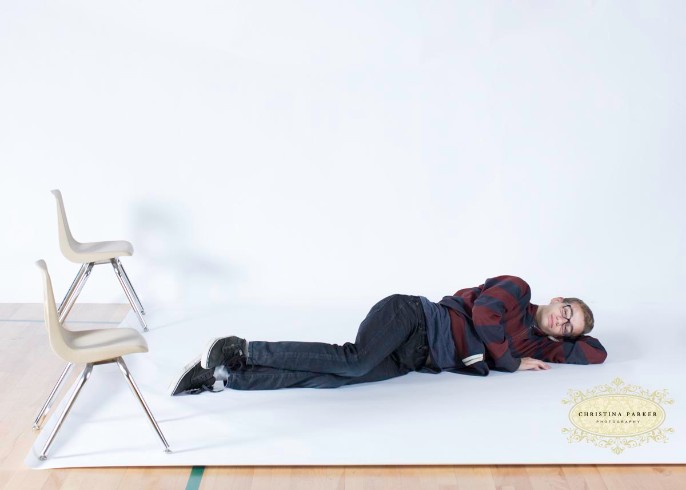

This indeed could work! The only thing, I realized the day of the session, that my big roll of mocha paper, wasn’t as big as I thought, and I had to go home and get this white paper to cover the floor. This made me have to touch up more on my seams of where the backdrop hit the floor. I did use a light meter, to have even light across, by getting it right in camera, it saves a whole lot of time, afterwards.
Just like a wedding, you start with everyone as a big group, and then you narrow it down.
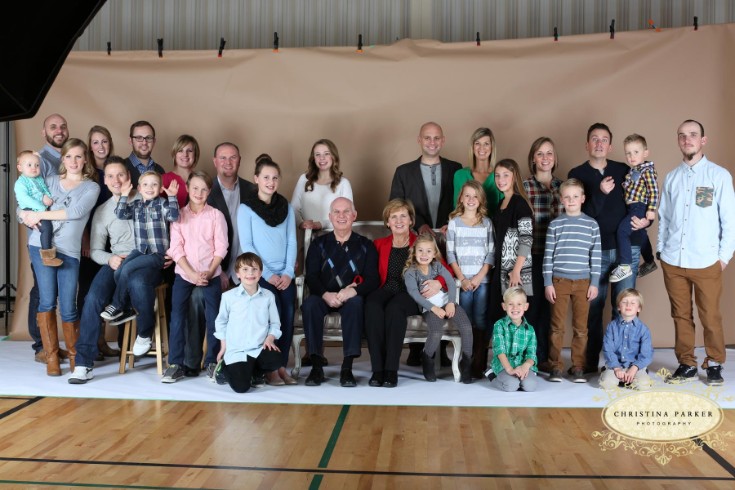
It’s all about grandma and grandpa, and their children, and grandchildren, so they get placed in the middle, on my fancy couch. Then work your way out, grouping the family together. A whole another topic, could be on the colour and style of dress.
Not everyone cooperates as well, so its good to take multiple portraits.
You can see in my after post processing, how I have had to cover up the gym lines on the floor, and clean up the clamps, all this is done in photoshop.

In the group of 27, I had to fix just a few faces. Can you tell which ones?
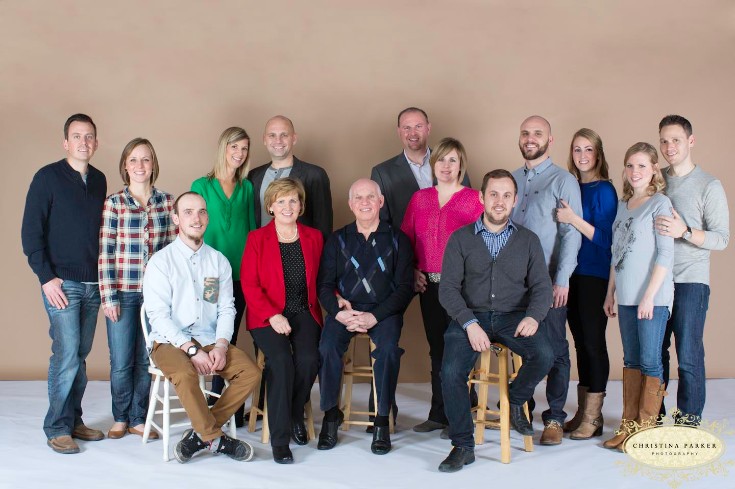
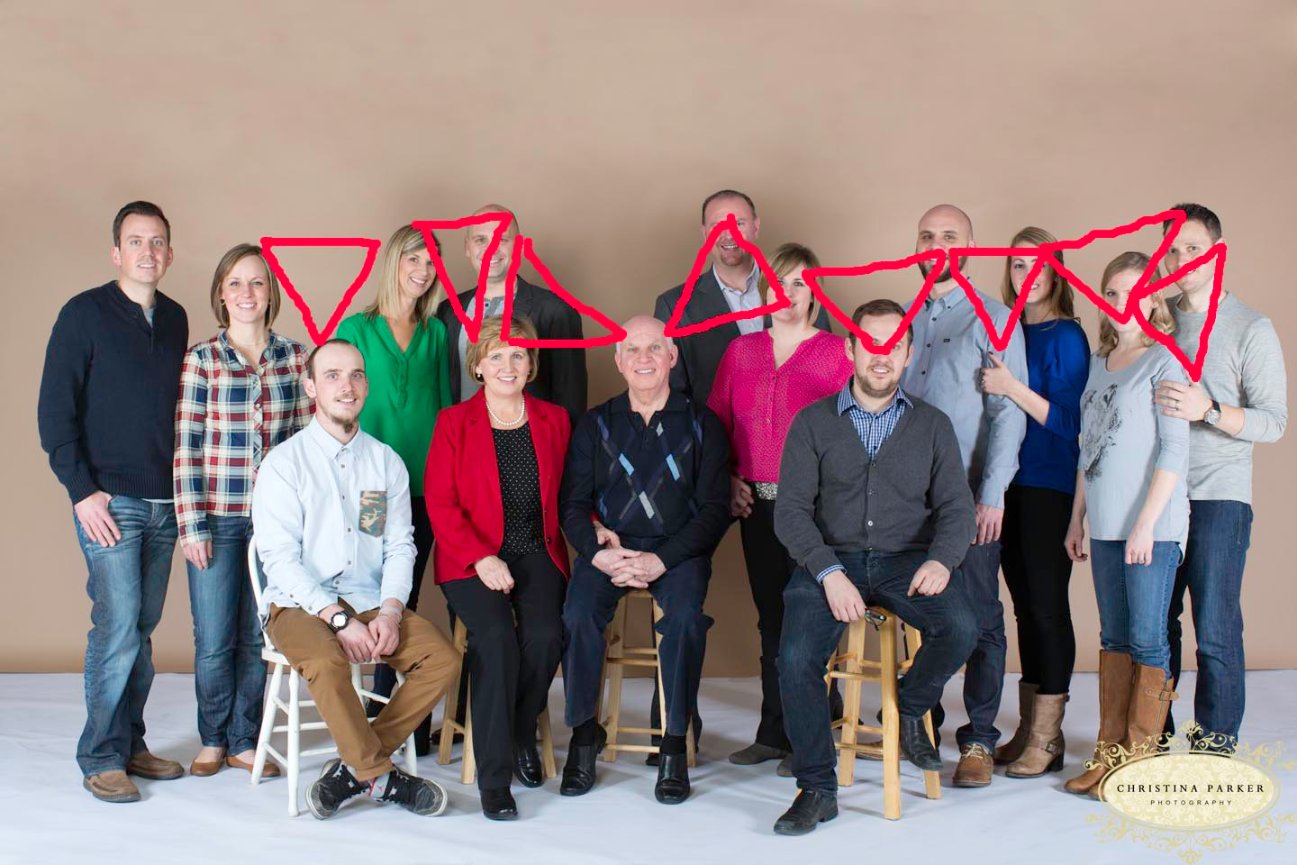
The use of chairs help with some variety, in heights so all their heads are not on the same plane, and placing hands on shoulders help create interesting triangles.
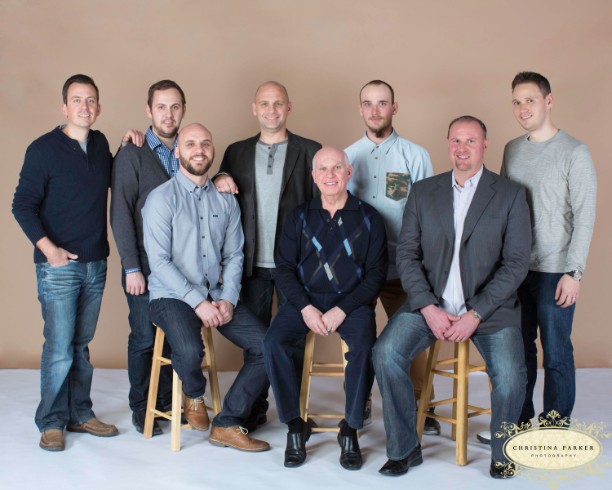
Slowly break the family down into different units. Like, all the men, (dad, sons, and son-inlaws). Can you see the imaginary triangles that could be formed with the men?
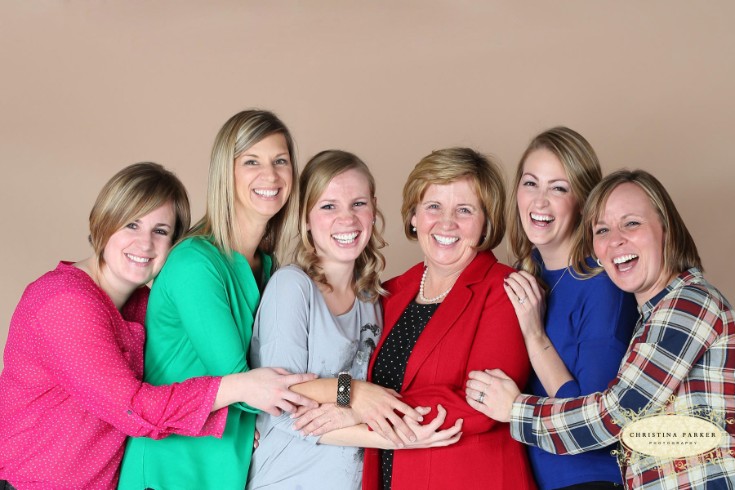
With the ladies, add some connection, with their arms…although some take it a little too far, and may touch one another a little inappropriately!
Then focus on every family. It really doesn’t matter what order. I actually did the children first, and then their family, at the end.
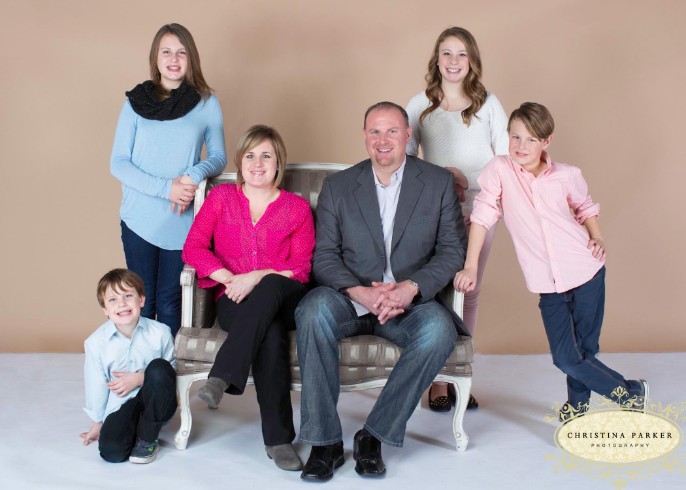
and the children
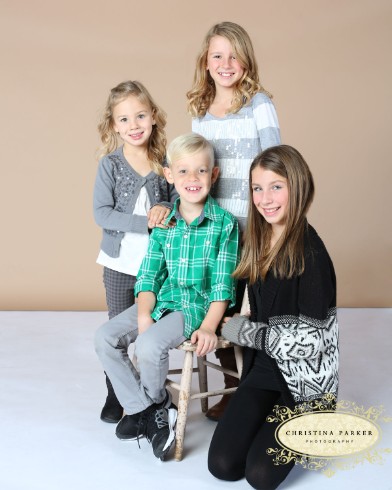
And the child, and this was able to be accomplished all within 2 hours. Phew!! Mission Accomplished!
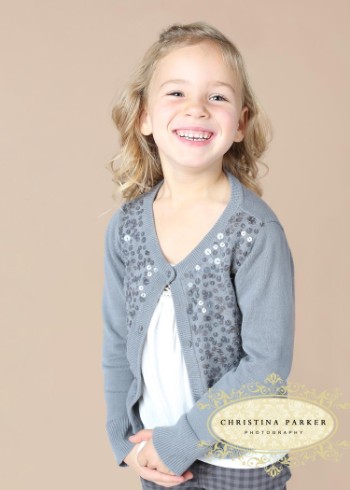
Miss Chrissy

Leave a Reply