Looking for a great hands-on activity to do with kids? These chocolate spider cookies are easy to make and taste delicious! Using simple and easy-to-find ingredients, these make a fun kit to drop off to friends!
Here is a cute and fun Halloween craft, that is just as tasty, too! If you are afraid of spiders, you might just want to keep on scrolling, off this page. These Spider Cookies can be made by kids, but be sure to have just a bit of adult supervision with the hot ingredient as well as a sharp knife.
Looking for a fun gift to give away? I have included a free printable bag topper, for your Chocolate Spider Cookies. The directions are on the back, could be a package to with complete spiders, or to attached to one of the ingredients in the kit. This free printable can be found at the end of this post.
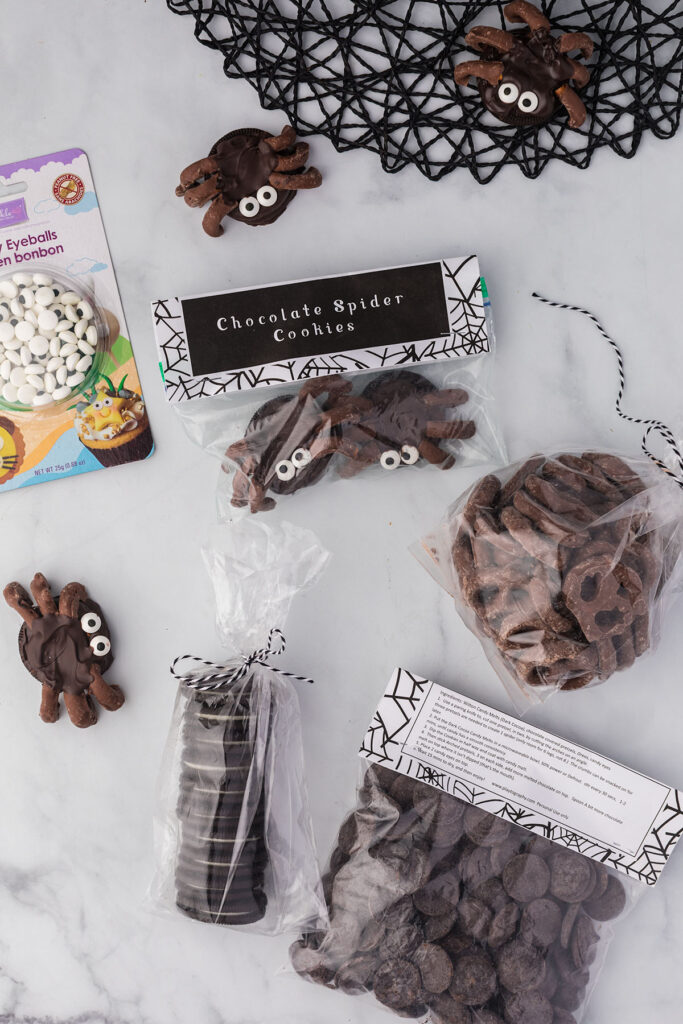
Ingredients Needed For Chocolate Spider Cookies:


How To Make Chocolate Spider Cookies
To get started have everyone wash their hands.
It’s tempting to nibble away as you go, but you can save a bit of the leftover pretzels to snack on.
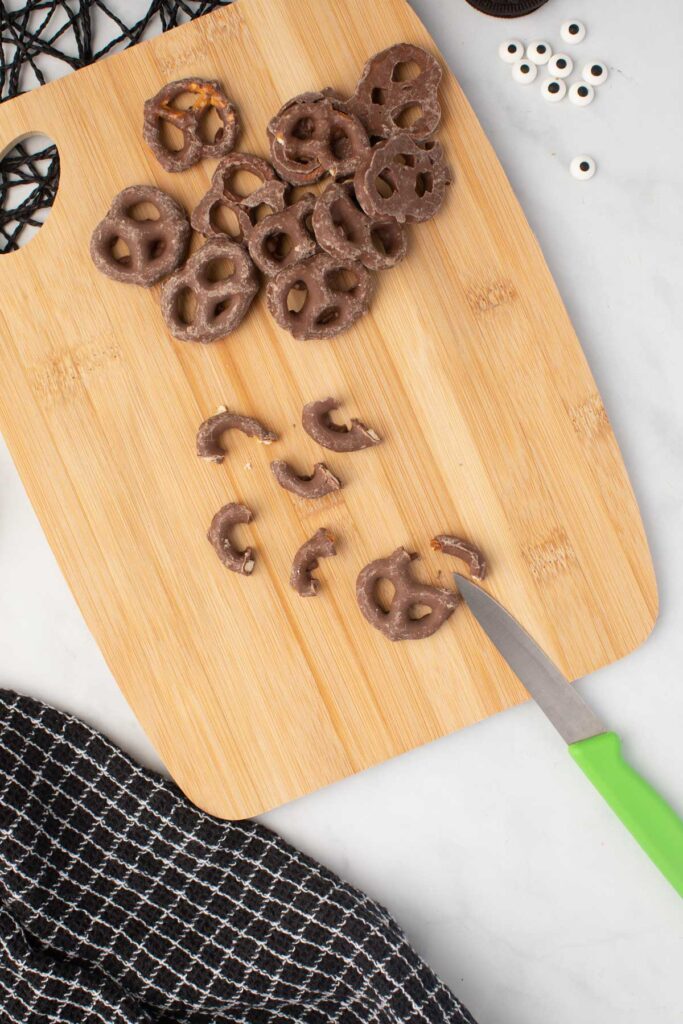
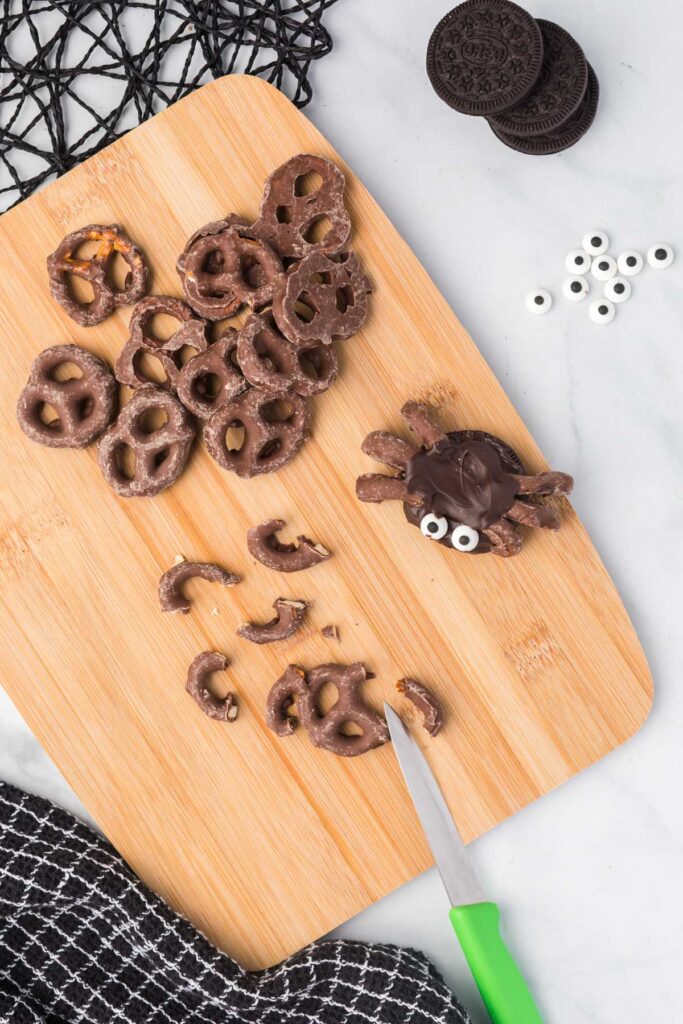
It is easier if you think that each pretzel can give you 2 spider legs, than 3 for each spider you make. As when you cut the pretzel with a paring knife, some pieces give a cleaner cut, than others. Just cut across the 2 sides of the arch or the folded arms of the pretzel. Discard the leftover to the snacking bin, after you finish cutting through the number of spiders you want to make.

Put the Wilton candy melts into a microwave bowl, and follow the instructions on the packaging to melt. I found for my microwave, it did fine between 2-3 mins, stirring often. I used the dark cocoa candy melts to be authentic in color.
Once the candy melts are melted, dip 1/2 the sandwich cookies into the melted chocolate. Place additional candy melts around the top of the cookie, using a spoon. Then place the cookie on a piece of parchment paper as will make it get off easier than a cutting board.
We all know that spiders really have 8 legs, it’s hard to fit 8 legs around the cookie. Take 6 pieces and put it around the cookie. Dap a bit more candy melt, at the front of the cookie, that hasn’t been dipped, then add the candy eyeballs, two is enough….we really don’t want to freak anyone out with 8 eyes!
Once the legs have dried, then add an additional candy melt to the back of the cookie to keep it more secured.



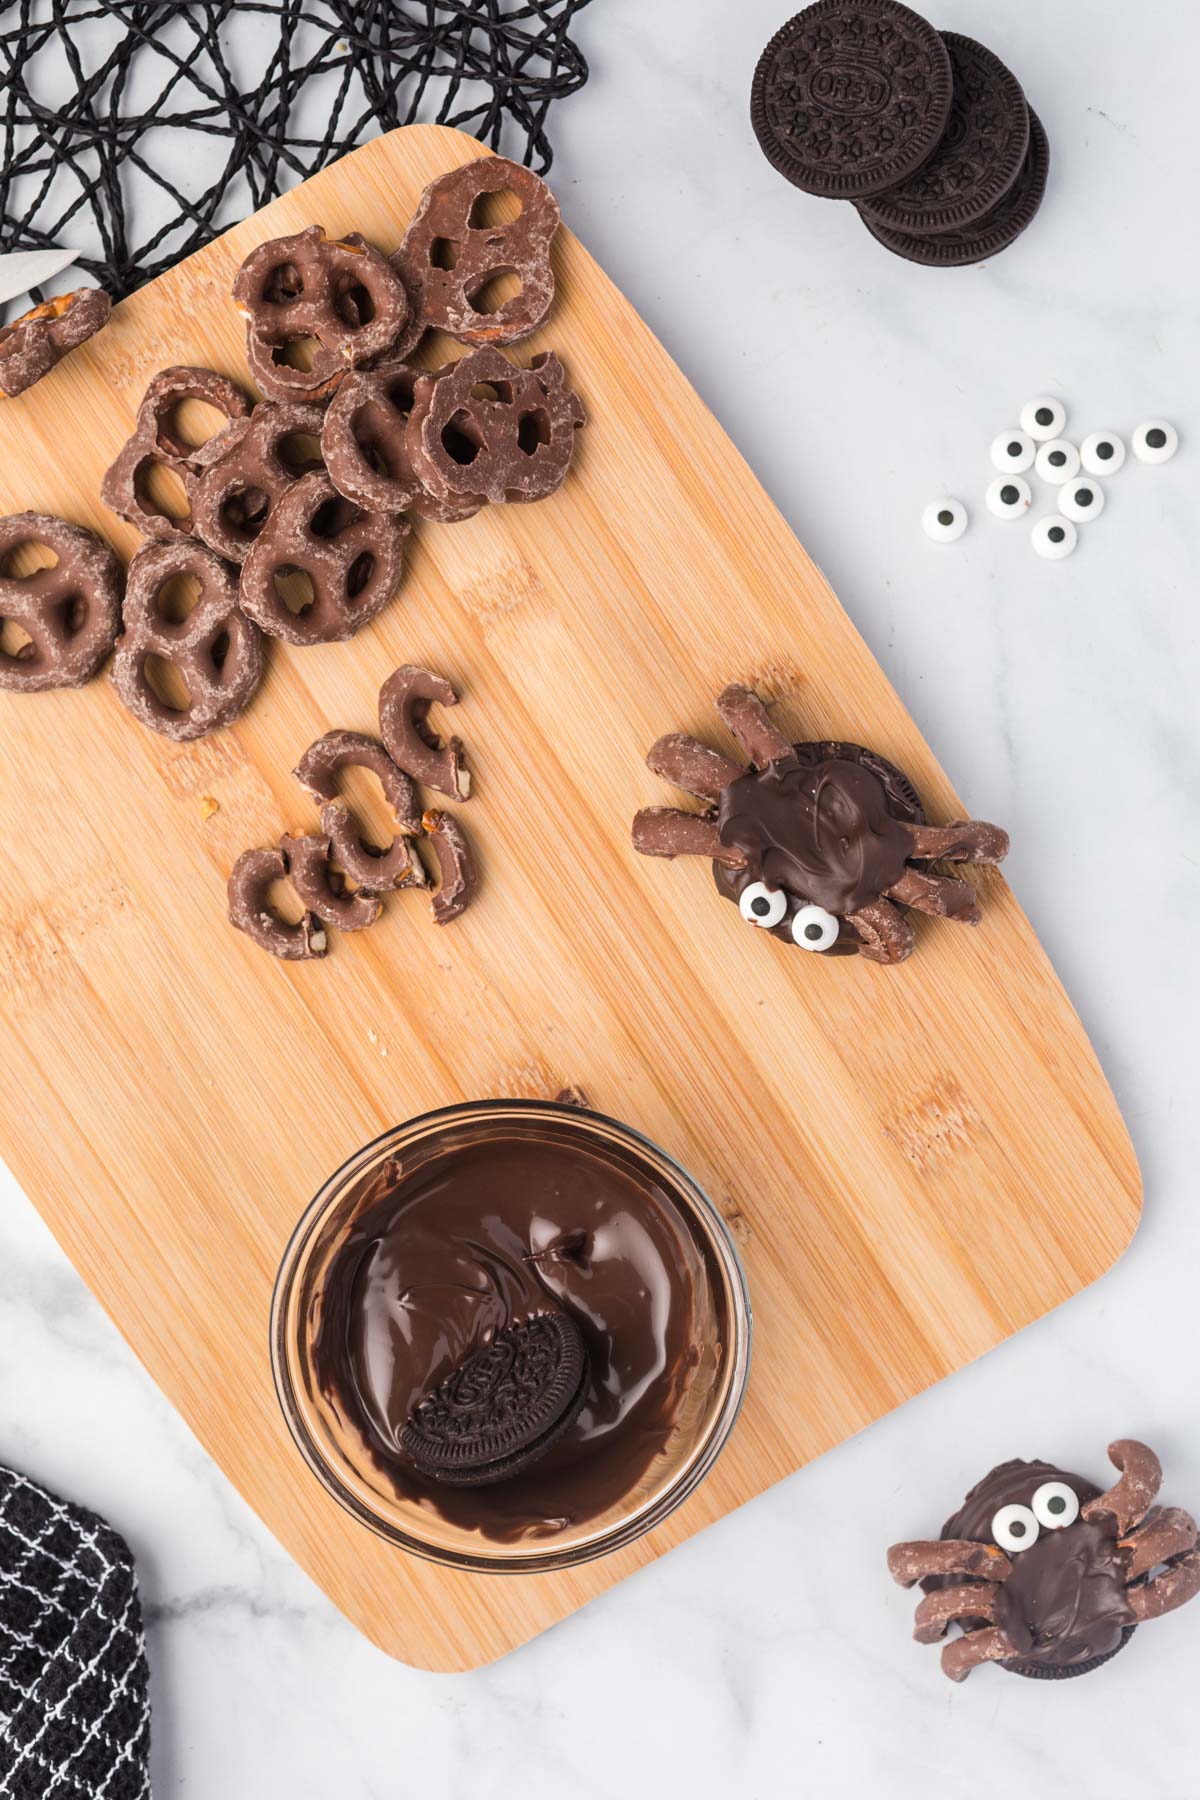
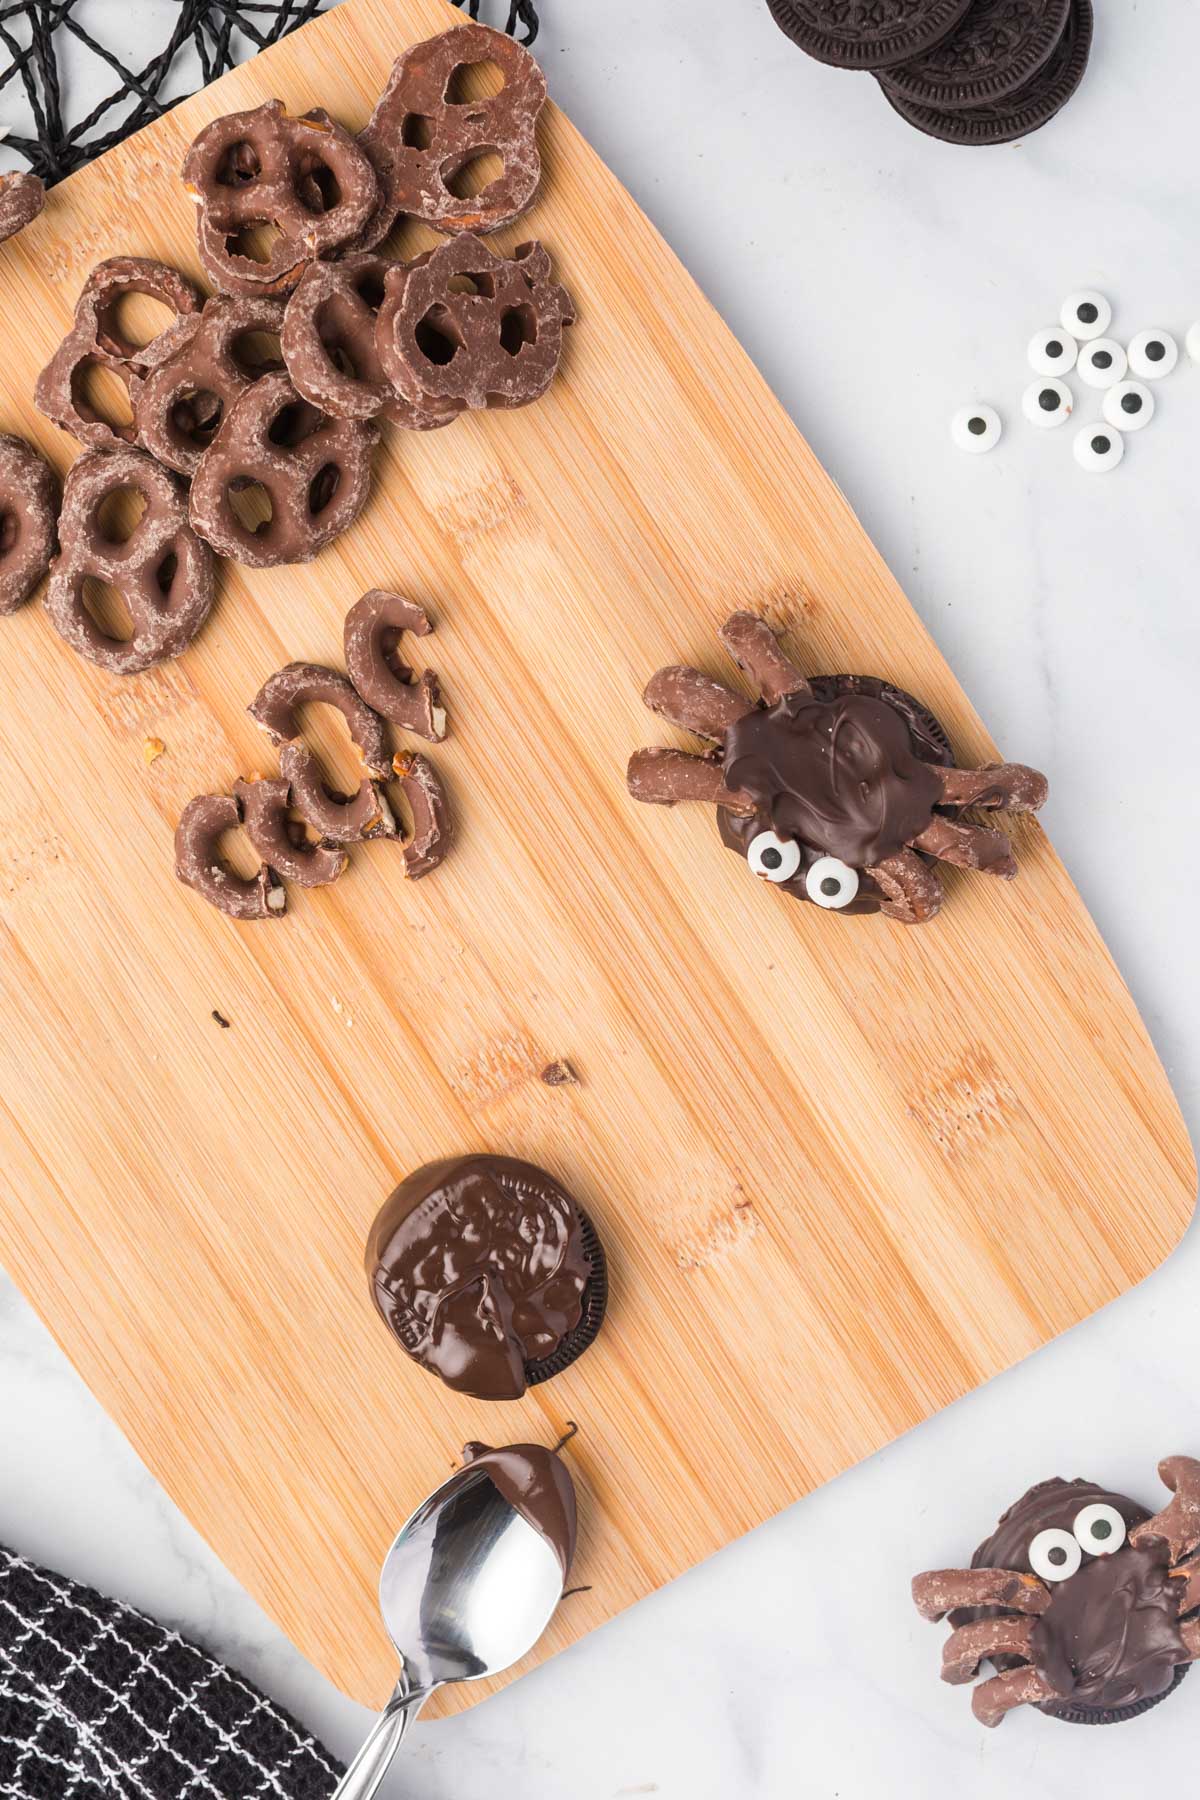

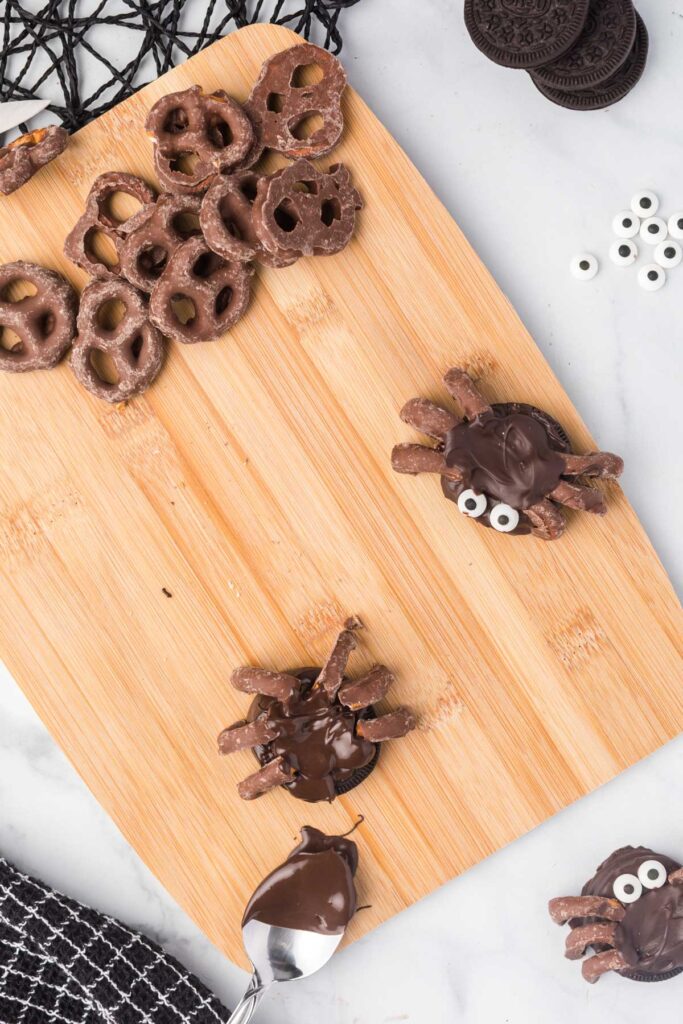
Add more candy melt chocolate on top to help secure those legs.
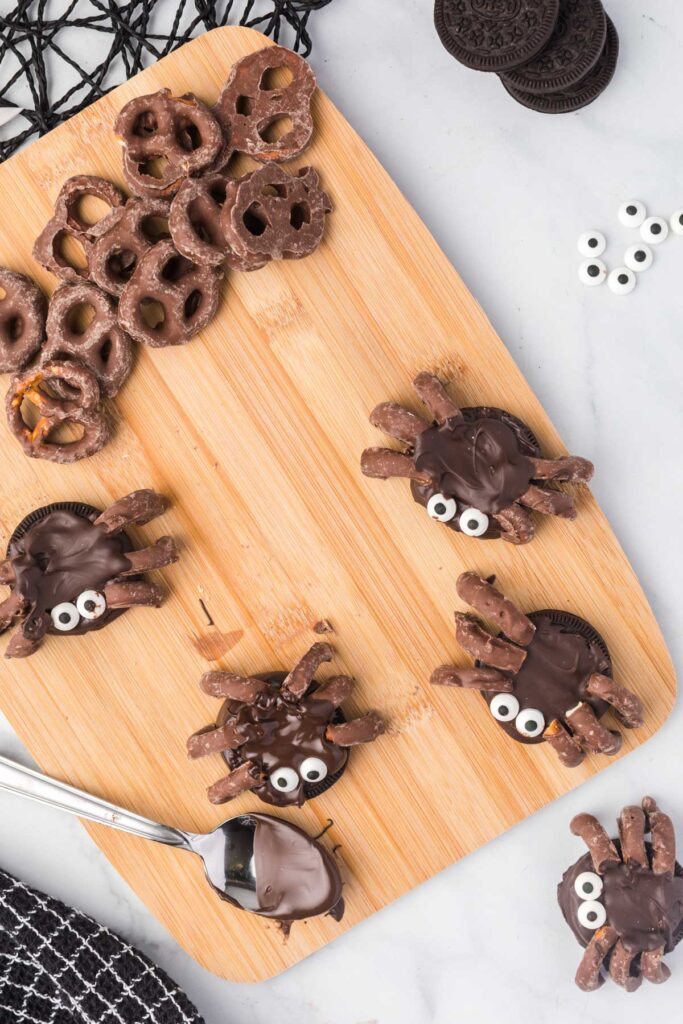
Aren’t these spiders so cute! You can package up each individual ingredient, and gift them to a friend or family member, for a fun and delicious craft and treat! They will not last long, that is for sure!
The bag topper, has the printed recipe on the bag, saving you time in not having to write out the directions. Just staple to a small sandwich bag filled with one of the ingredients.
Looking for more Halloween Activities to do? Check out these links below-
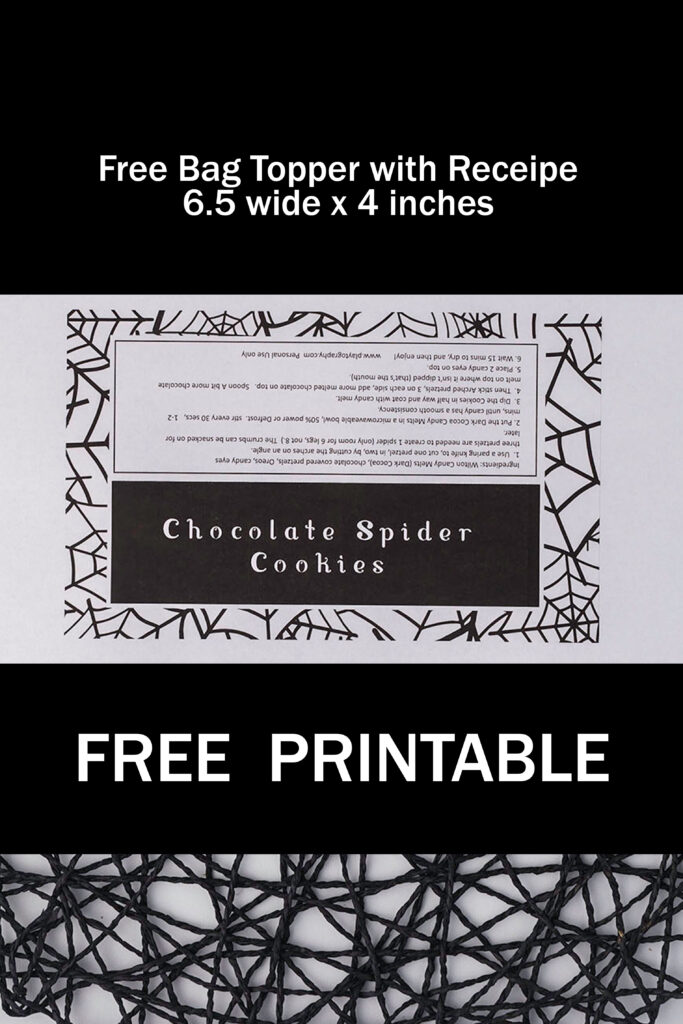
DOWNLOAD The Chocolate Spider Cookies Free PRINTABLE HERE:
To get the free printable, please enter your name and email address in the form below and click the tab that says, “Let’s Play” and the form will be downloaded automatically.
Terms and Conditions:
- Downloading this free printable you are signing up for my e-newsletter and you’ll be notified when I release new free printable files.
- This file can be used in part or in whole for your personal projects
- This printable is for personal or classroom use only.
- Digital reselling, sharing, redistributing of the files is NOT allowed. If you would like to share, please direct friends to the original blog post where you found this file.


Leave a Reply